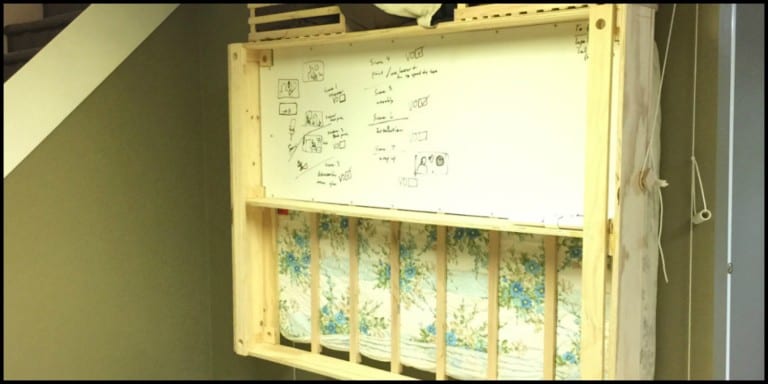
Recycled Pallet Wood Headboard
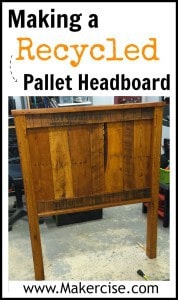
My son was content to stay in his crib far longer than many kids. My wife and I had a twin mattress and frame that was destined to be his upgrade. He would not have missed having a head board, but it gave me an excuse to get in the shop for some makercise. Plus I had plenty of time to play up the “I am making a bed for you son” bit. It was awesome to have him down in the shop over the course of the project “helping” me. Hopefully experiences like that will inspire his creative instincts. Here’s how I created a recycled pallet wood headboard.
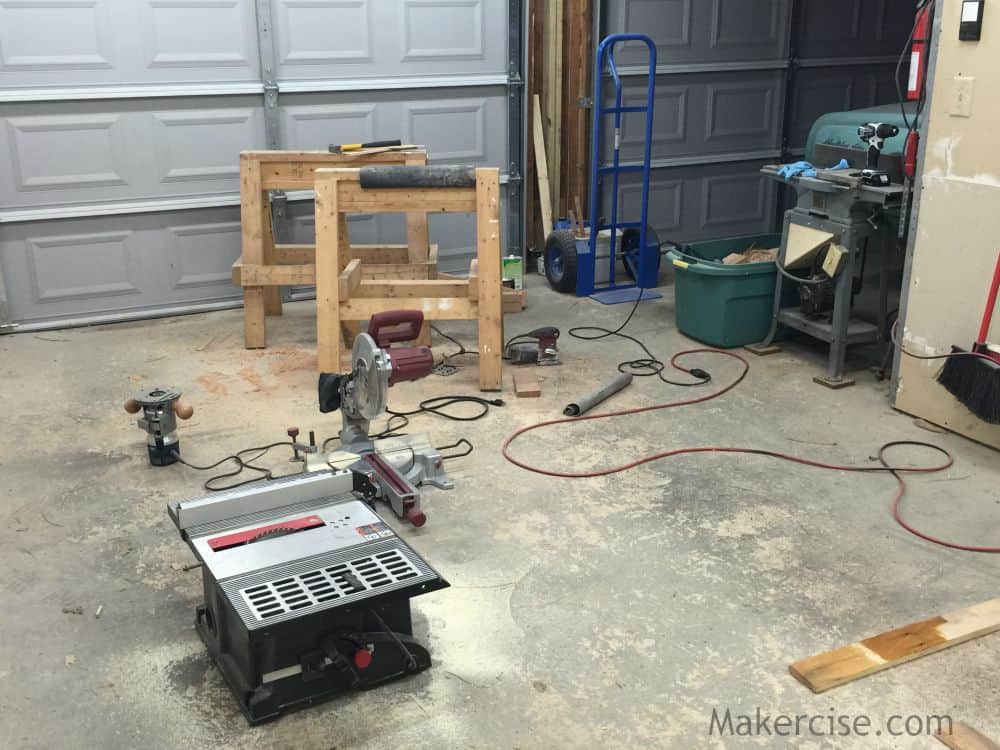
About the time my son was ready to move from his crib to a “big boy” bed, I was also ready to upgrade my woodworking power tools. Until then I had been getting by with an el-cheapo 24″ table saw. I found much nicer table saw and a usable jointer on Craigslist (see my other post) and decided to improve my tool set. Those two pieces of equipment well largely to credit for this project. Home center hardwood was WAY too expensive for the test project I envisioned.
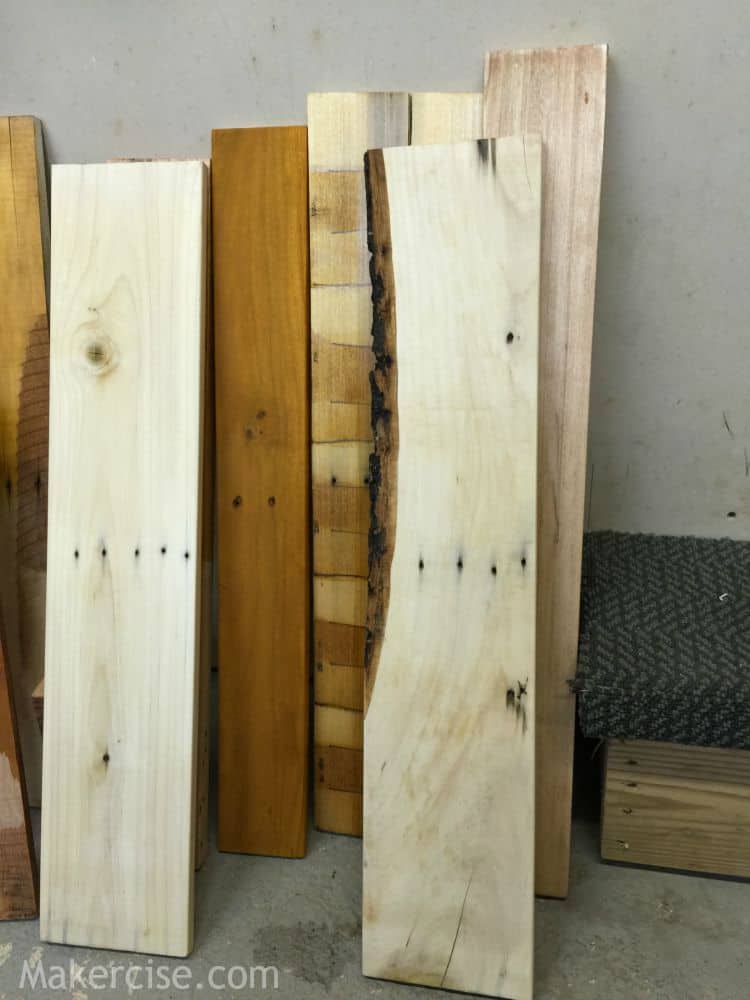
Fortunately, about a year earlier I had commandeered some hardwood pallets we were getting rid of at work. I took my prybar, circular saw, safety glasses, and hearing protection to work, and dismantled the pallets over lunch. After transporting them to my garage in the back of my Saturn sedan, I spent a few hours getting the nails out. Then I stacked the boards on the shelf for a then-unknown project.
The jointer I bought really made the project possible. Without it, I doubt I could have gotten the warped and bowed wood joined reasonably well. There is no way I would have run pallet wood across a proper jointer with decent blades. Fortunately I do not own one. The $40 special was more than capable to knock down the high spots and bows, albeit with a bit of protest and chip out. The wood was a combination of what I believe to be oak, maple, poplar, maybe cherry, and probably something else.
I designed the bed on the fly to accommodate the stock on hand.
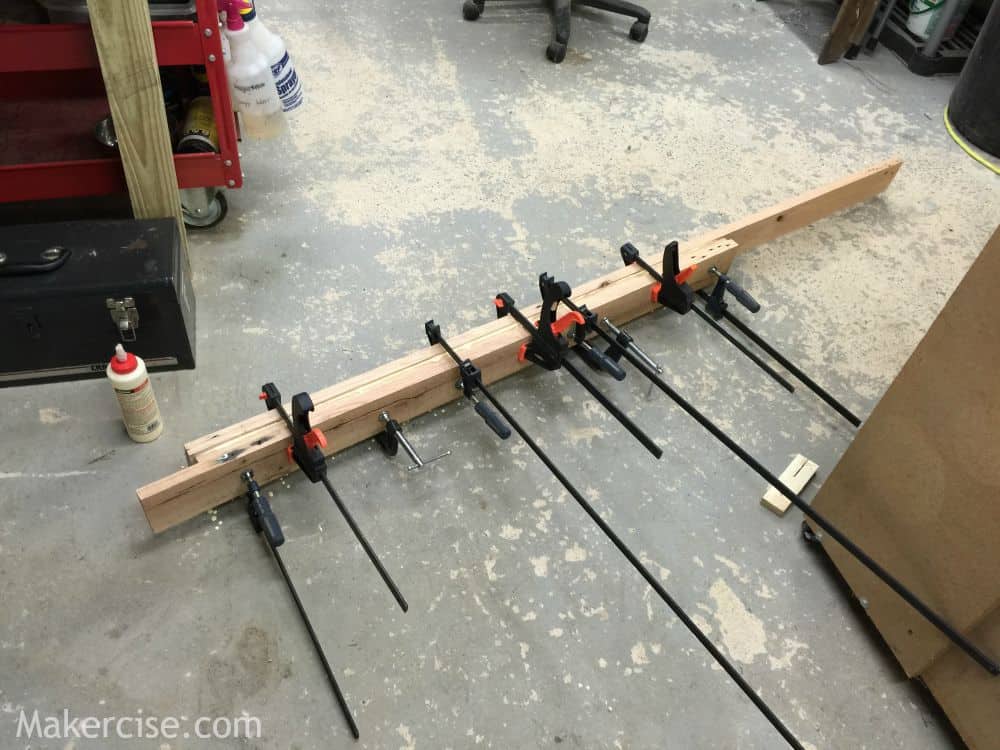
- I did a simple 3 board glue-up for the each of the main posts from thoroughly jointed oak.
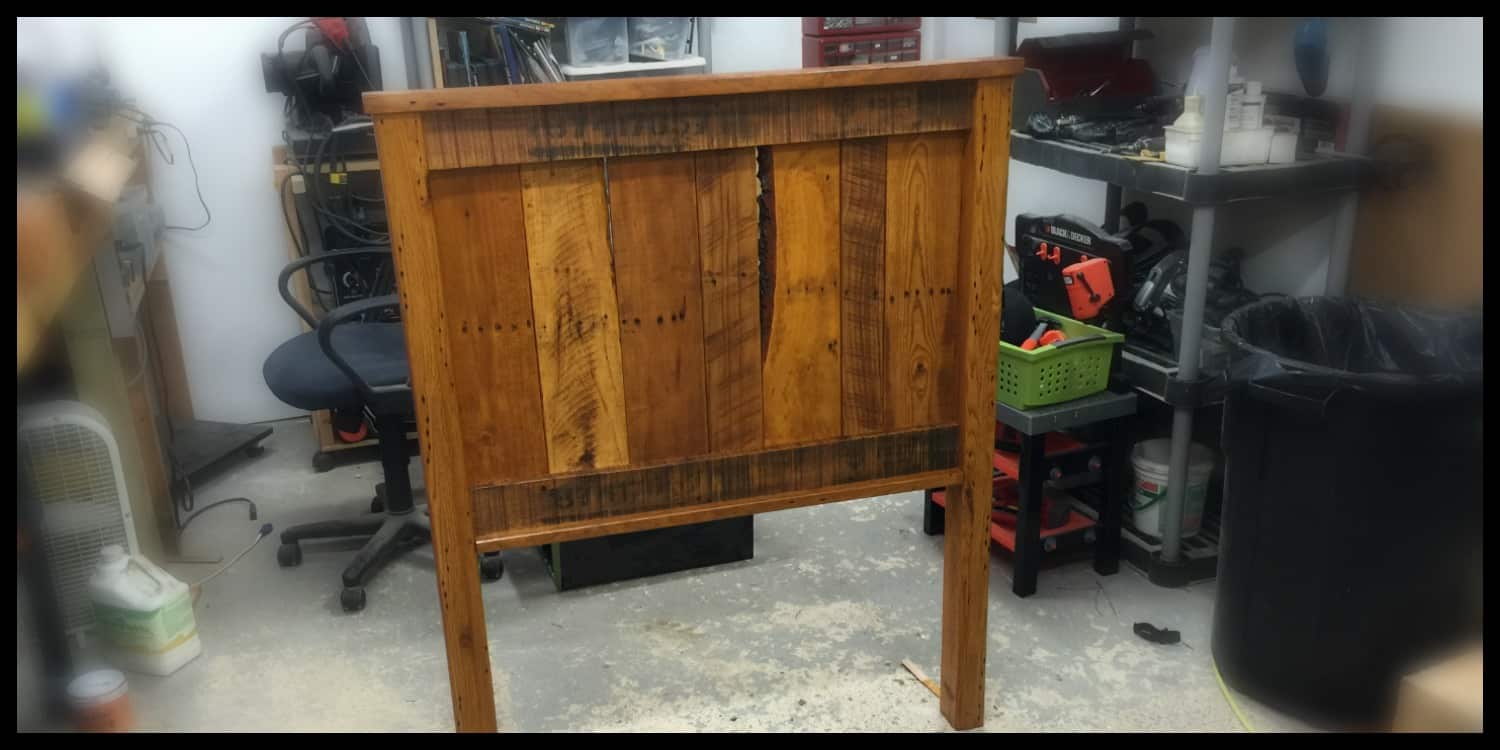
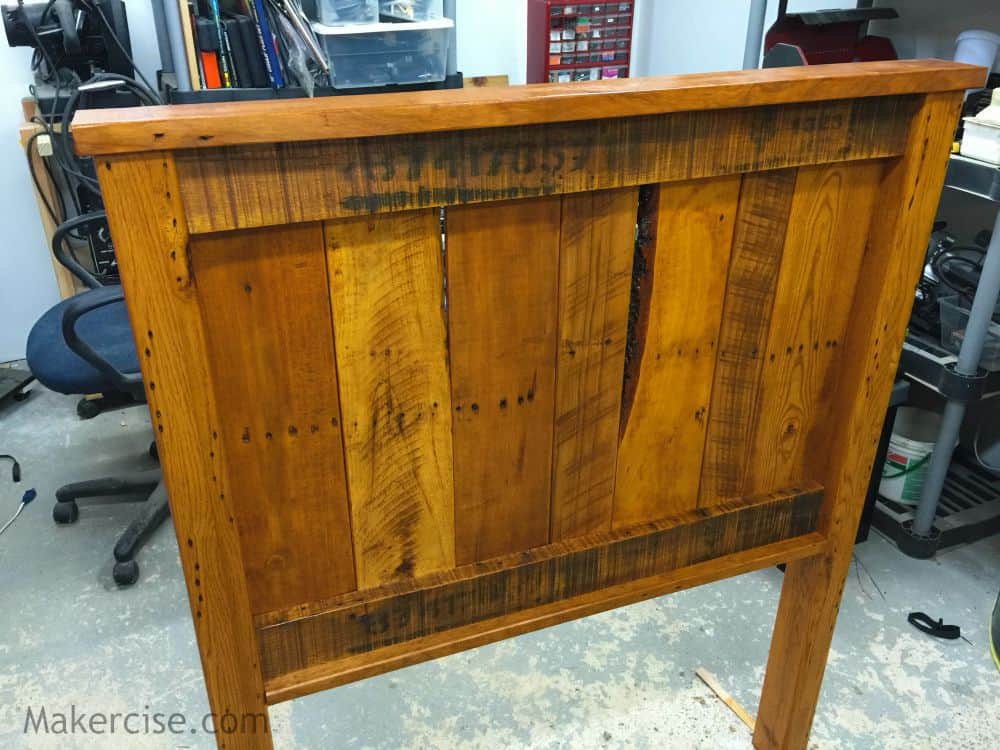
- I intentionally left live edges on the vertical slats and the two horizontal pieces to which I attached the slats.
- The very top horizontal and very bottom horizontal piece were thoroughly jointed on the side to which I fastened the horizontal pieces supporting the slats.
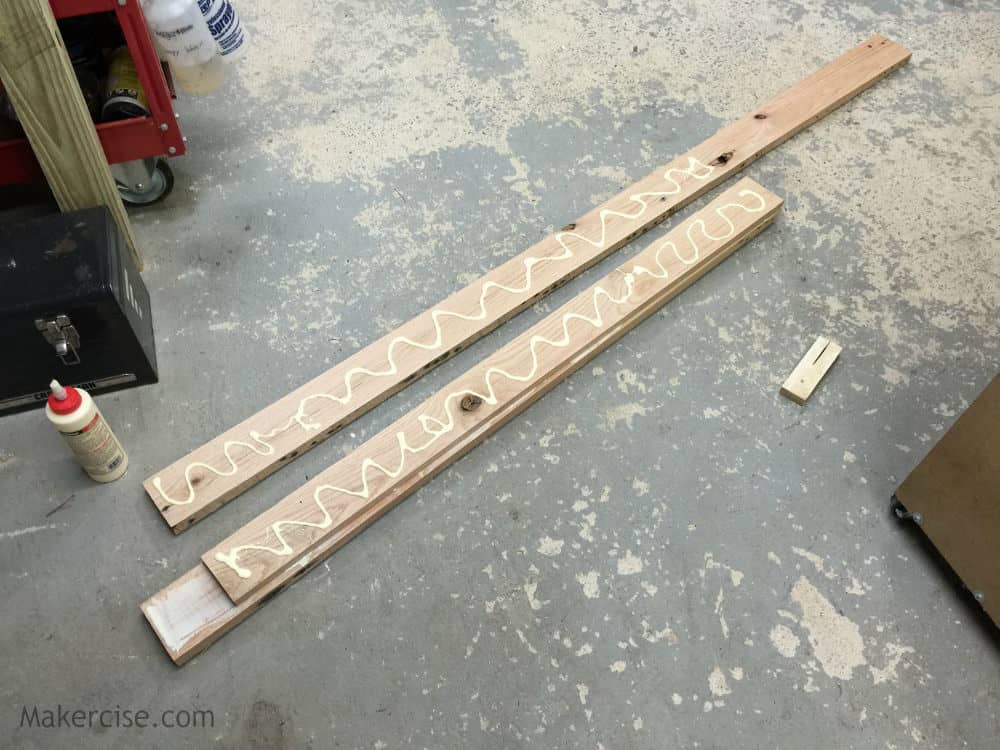
- I used glue and pocket holes to join the two sets of horizontal pieces.
- Next I used glue and pocket holes to joint the two horizontal sets to the verticle posts, using ratchet straps to secure the whole thing while gluing and attaching with screws. Finally, I cut the slats to fit.
- I used a mixture of the jointer, belt sander, and random orbit sander to take the rough pallet wood down to smooth yet rustic. To finish, I used a HVLP sprayer to get a nice even coat of shellac.
- A paint brush gave me the ability to really loaded up the live edge with shellac.
- After several coats, I used a 400 grit sand paper and a tack cloth to give the bed a baby smooth finish. I hit it with one list coat of shellac.
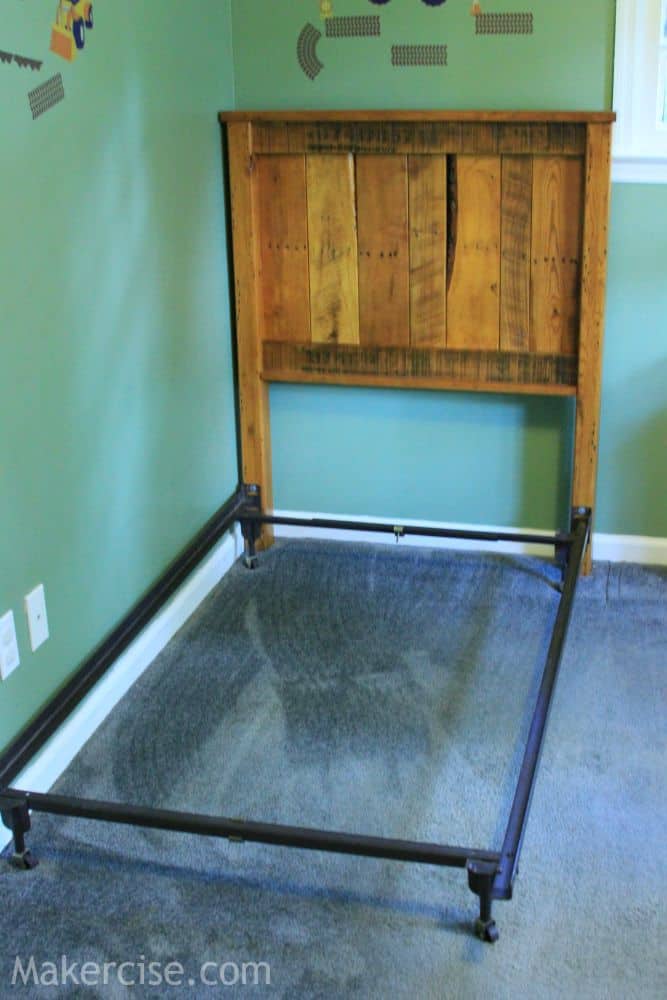
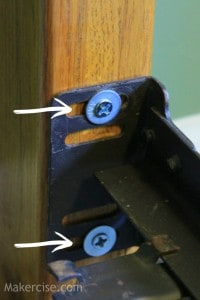
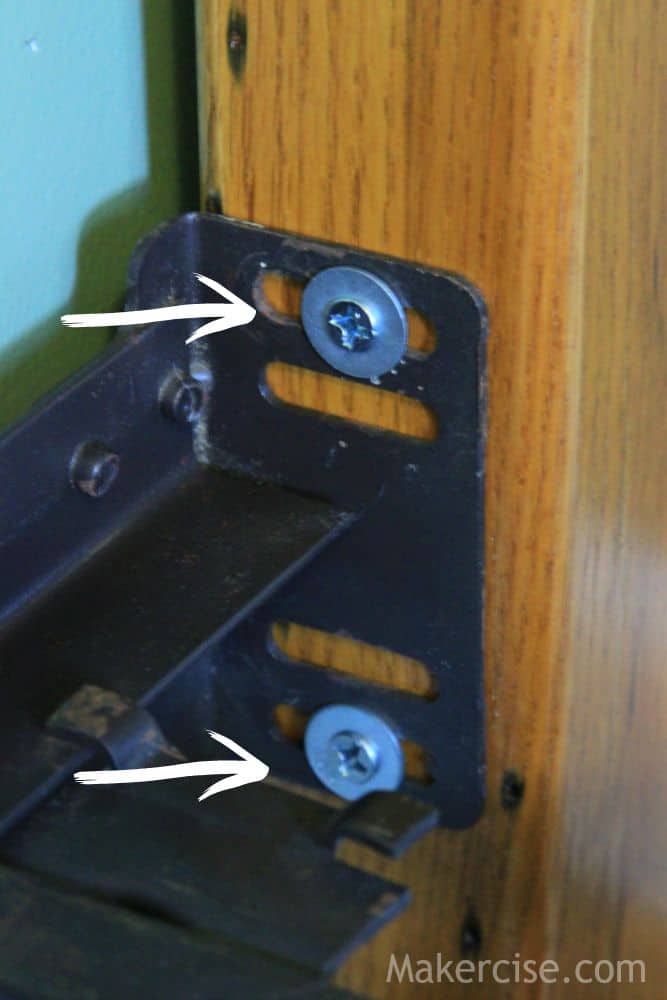
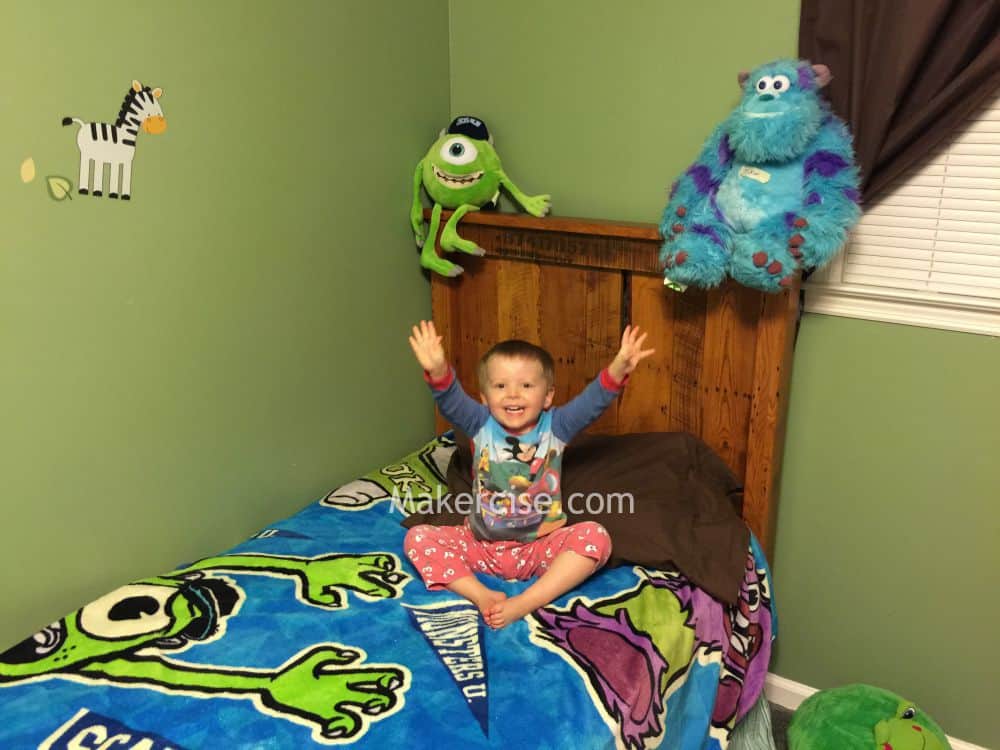
I fastened the bed to the frame, and with much fanfare my son graduated to his new rustic “big boy” bed.
I asked my son how he liked his bed in preparing to write this article. “I love my bed,” was the emphatic testimonial I received.
