Dueling Fire Pits
Dueling Fire Pits
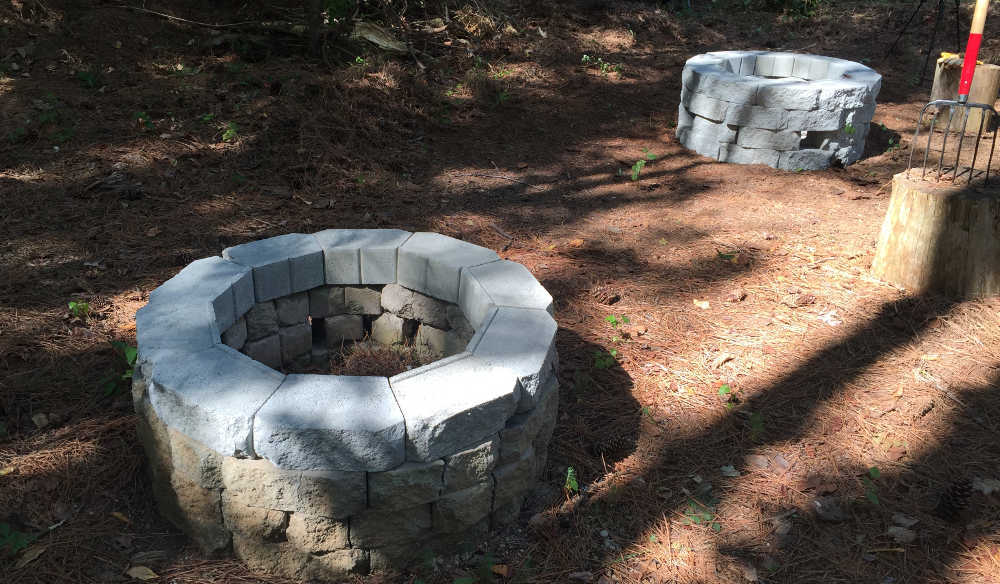
I want to show you how I built my Dueling Fire Pits. In my video, I discuss the construction of a new fire pit in addition to the repair of my old fire pit. The original fire pit has been awesome. I burned three pine trees 18” in diameter. A tree fell across the fire pit, and I continued using it. Several summers ago I started the process to get our backyard foliage under control. This process generated lots of firewood, and I decided to build a real fire pit after I damaged my wife Chiminea. I just wanted to see what kind of heat that bulbous terracotta chimney could handle and frankly it wasn’t much. So I headed down to Home Depot in the old F150 and loaded it up with retaining wall bricks that were about $1.50 each. When I was done I had made a fire pit for just around $68 that I could actually burn some wood in. Over about three years, the fire pit has started to show some wear due to the high mileage I put on the fire pit. The typical failure mode seems to be the retaining blocks crack in half. Despite the expected wear on the original fire pit and considering the simplicity of repairs, I decided to build another. Dueling fire pits is the way to go!
To build the fire pit, I need 38 retaining wall blocks. I picked these up at the home center. The bottom row requires 10 blocks. The second row only requires 8 blocks since that row includes the air inlet holes. The top two rows both require 10 blocks each.
You may want to arrange for some help if you are averse to physical labor. Makercise felt very much like exercise.
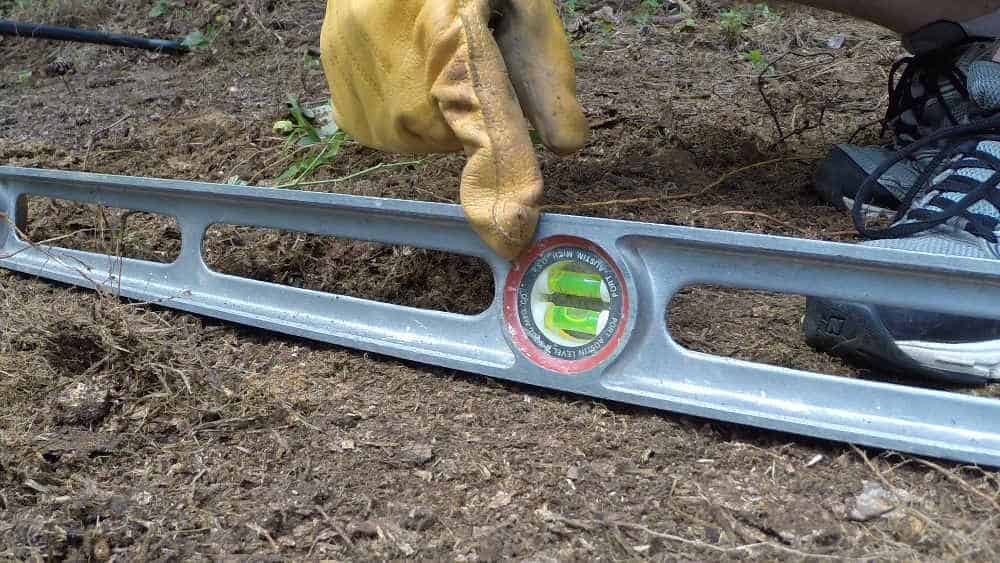
It is important to get the base of the fire pit level. Picking a level spot in my backyard, minimized the amount of grading work I had to do. At any rate, it’s really important to get the bottom row of the fire pit level. Providing a level foundation will really help to extend the lifespan of the fire pit.
The blocks come with a lip on the back. The lip is very helpful if you are building a retaining wall since each consecutive course’s lip will hang down and hook on the back of the block under it. This provides a mechanical interlock that transfers the dirt you wish to retain into the wall. The wall effectively leans into the dirt. In our case however, we don’t want these lips.
1st Course
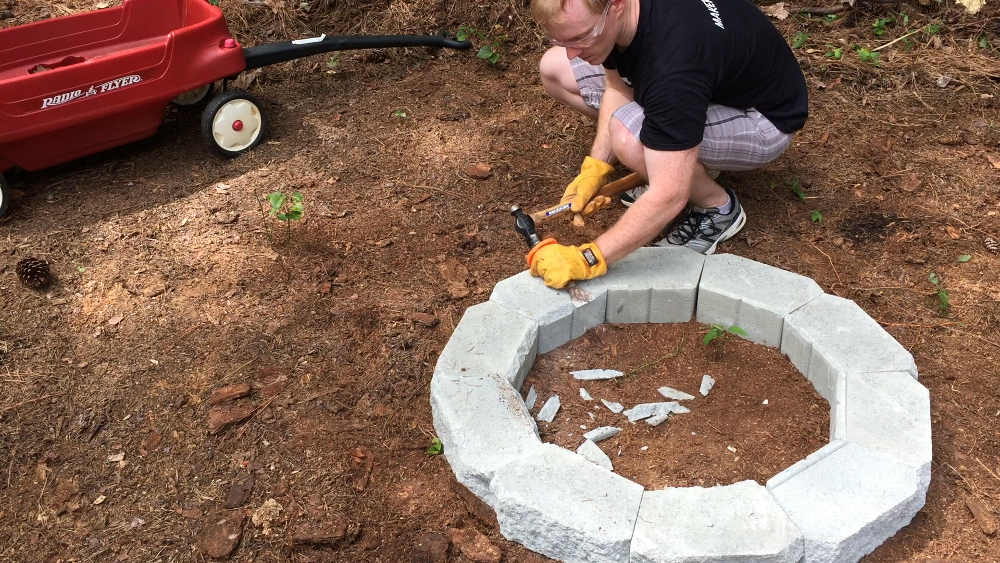
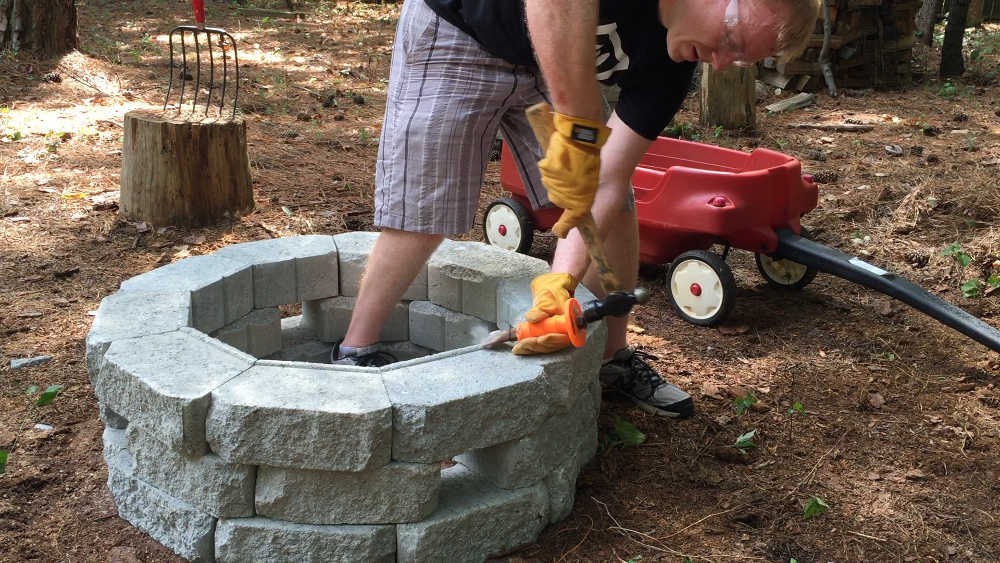
Place the bottom 10 blocks in a circle. Wear safety glasses, and chip the lips off the blocks with a chisel. As you add courses, they will sit flat on the blocks below.
2nd Course
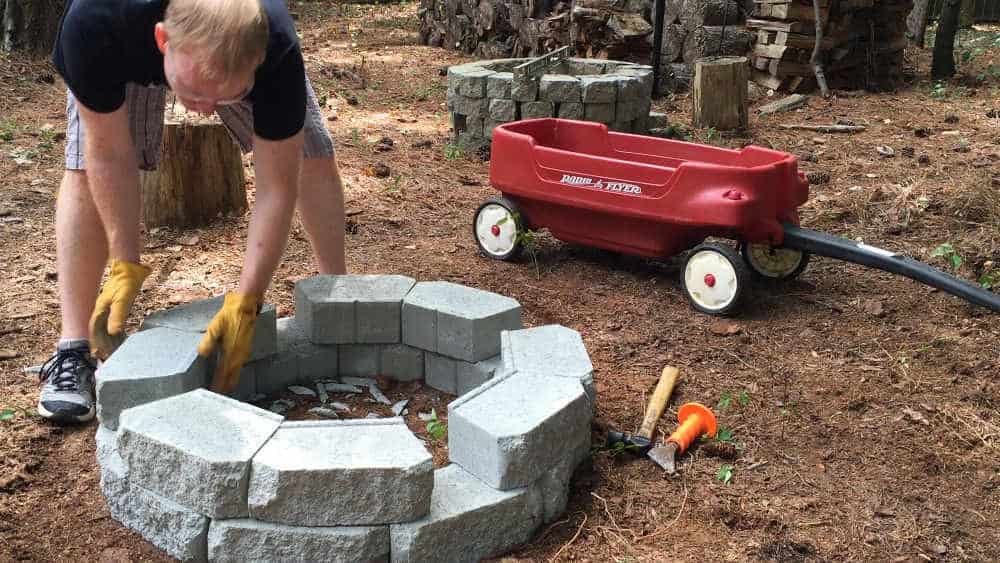
Place 8 blocks in pairs on top of the bottom course. Separate the pairs by a “half block”. Orient the pairs of blocks so that they overlap the bottom course by a “quarter block”. Chip the lips.
3rd Course
Place 10 blocks directly over the blocks in bottom of the circle. This means that the seams should align with the bottom row and effectively have a “half block” rotation relative to the 2nd course. Again, chip the lips.
4th Course
Place the last 10 blocks on the 3rd courses with a “half block” rotation. I chose the leave the lips on the top row.
Repair
To repair my old fire pit, I discarded the top row of cracked blocks. I rearranged some of the blocks to provide maximum stability. Then I added a fresh row of blocks to the top. This really seemed to improve the stability of the sides.
Safety
Fire is a technology that humans have been safely manipulating for many years. We benefit from the experience passed down from our countless forebears. Leverage their experience to maximize your safety. There is a ton of great resources online, and if you don’t feel comfortable managing a fire in your backyard, find someone who is confident and safety minded. Have them mentor you in the way of the flame.
Before attempting to build a fire pit, perform your own due diligence specific to your locality. Resources such as your Fire Marshall, city, county, state or national resources can inform you of considerations related to your specific project. Maintain situational awareness related to burn bans, fire hazard levels, and general weather conditions and use those factors in your decision making process.
I like to wet the area around my fire pit to reduce the changes of a hot coal creating an unauthorized tertiary fire pit in my back yard. I also try to be a good neighbor by building a hot fire and using dry wood. My personal pet peeve is burning wet yard waste. A pile of wet leave in a recreational fire pit is a formula for unhappy downwind neighbors.
Lighting the fire
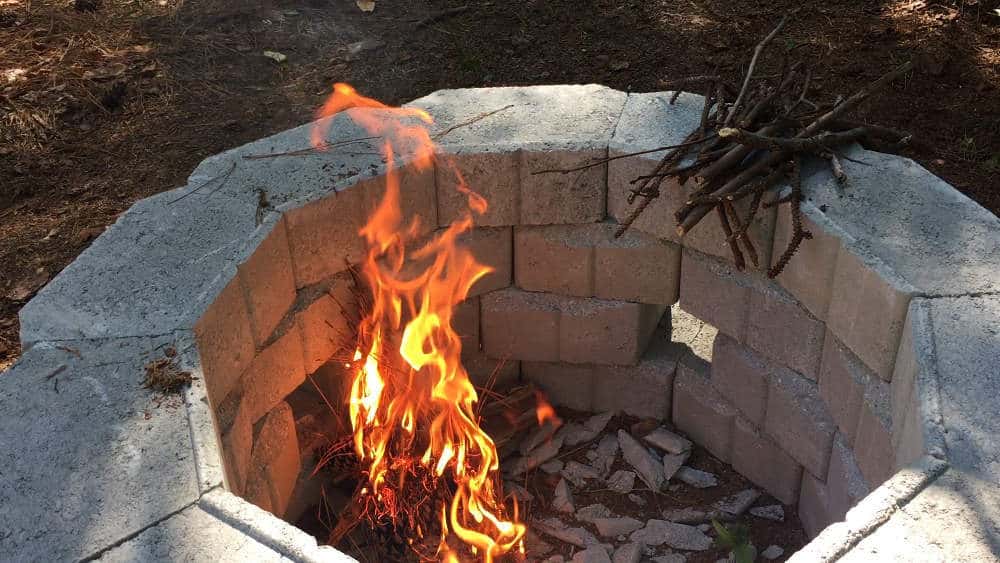
To light my fire, I use dry material. I used pine needles and pine cones as my kindling. For the tinder, I used some fat lighter and twigs. A friend of mine gave me some fat lighter, this flammable material makes excellent fire starter. It is the rosin rich core of pine trees that have deteriorated. I have a wood shed in which I keep dry wood. I also have a healthy stack of split pine that burns very cleanly once the fire is good and hot.
Once you have a fire pit, checkout a great article how to host a proper fire pit party:
