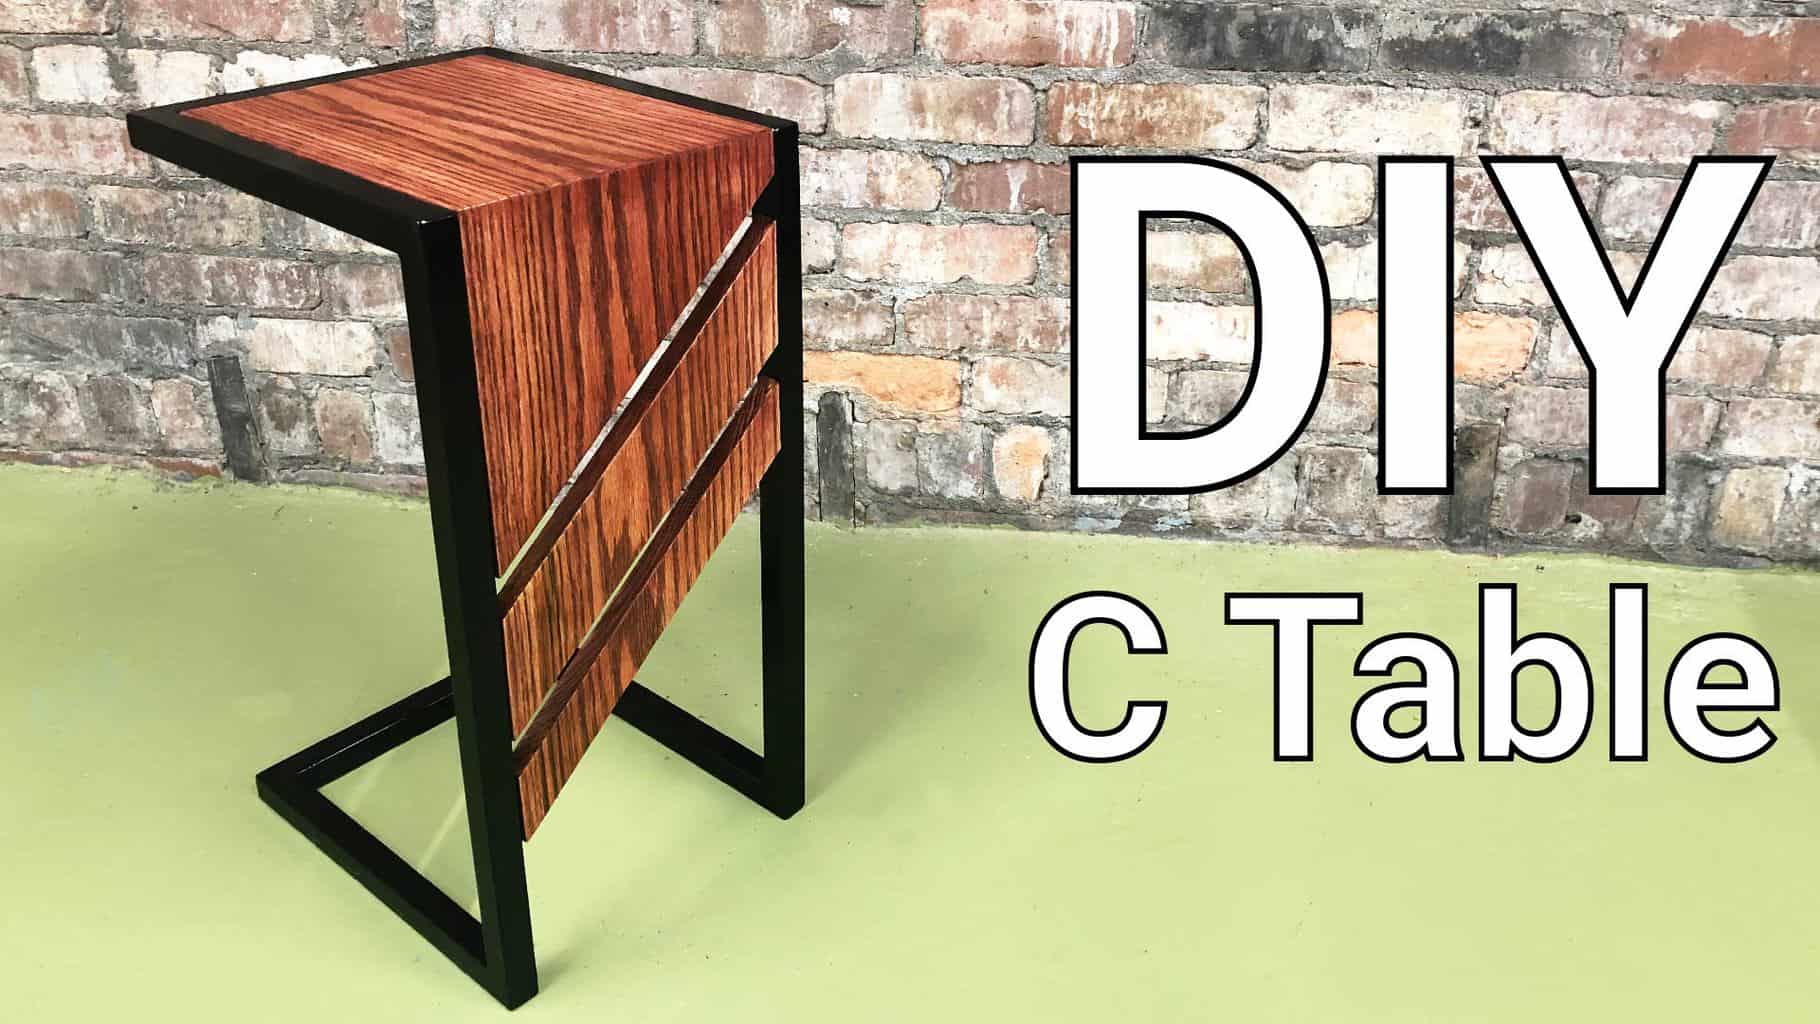
DIY C Table
My wife has been begging me to build her some furniture. I figured a C Table was a great place to start since it could be as a slide-under sofa table or an end table. Turns out it is a GREAT starter project for someone interested in furniture making with welding and woodworking aspirations.
Design
Does this qualifies as an industrial design? Regardless, I chose a metal frame design for good welding practice. I also needed to incorporate a special piece of wood. The wood I used is from a tree that fell at my parents’–used to be my grandparents’ homestead. Lots of good memories there, and now the tree lives on in my living room.
Plans
Subscribe to my email updates below and I’ll send you FREE PLANS to build it to my dimensions. If you want to customize the table to fit in your own living room, grab the custom dimension C Table plans which include the Fusion 360 model and drawing. Then modify to your own dimensions.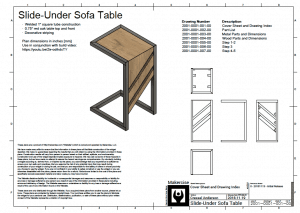
Tools and Materials
Tools
Note: Some of these links are affiliate links which means I may make money if you use them and buy something.
- 4.5″ Angle Grinder : https://amzn.to/2PbpRTe
- Welder — either will work
- Deluxe : https://amzn.to/2Sp6zfg
- or Cheapie : https://www.harborfreight.com/Flux-125-Welder-63582.html
- Table Saw : https://amzn.to/2Q3uV1c
- Table Saw Sled : https://youtu.be/9S5UdDRgZ6c
- Welding Jig : https://fireballtool.com/monster-square-8/
- C-clamp Locking Pliers : https://amzn.to/2Pevno0
Materials
Materials:
- $2 of scrap steel 1″ square tube – a local scrap yard sells it for $0.20/lb
- $8 of red oak plywood – I used lumber I milled myself https://youtu.be/9S5UdDRgZ6c
Written steps to build this DIY Industrial C Table are below the video. Be sure to follow me on YouTube and Instagram for more projects like this. Tag me if you build one for yourself.
Build It!
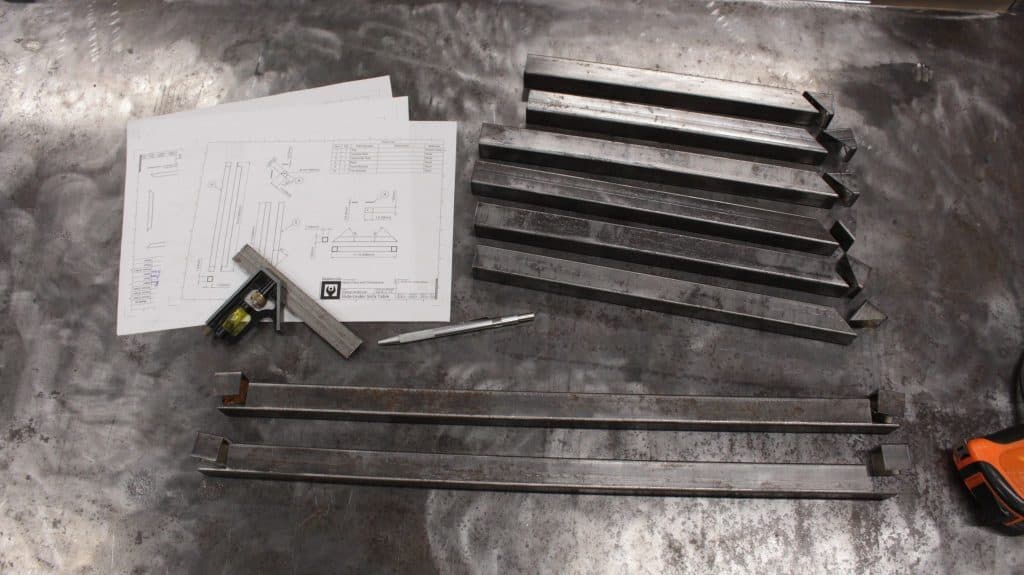
Step 1 – Cut Metal Pieces
- Cut 4 horizontal side pieces to 348mm with a 45 degree bevel on one end
- Cut 2 back pieces to 298mm with 45 degree bevels on both ends
- Cut 2 vertical side pieces to 580mm then on both pieces notch both ends to accept the horizontal side pieces
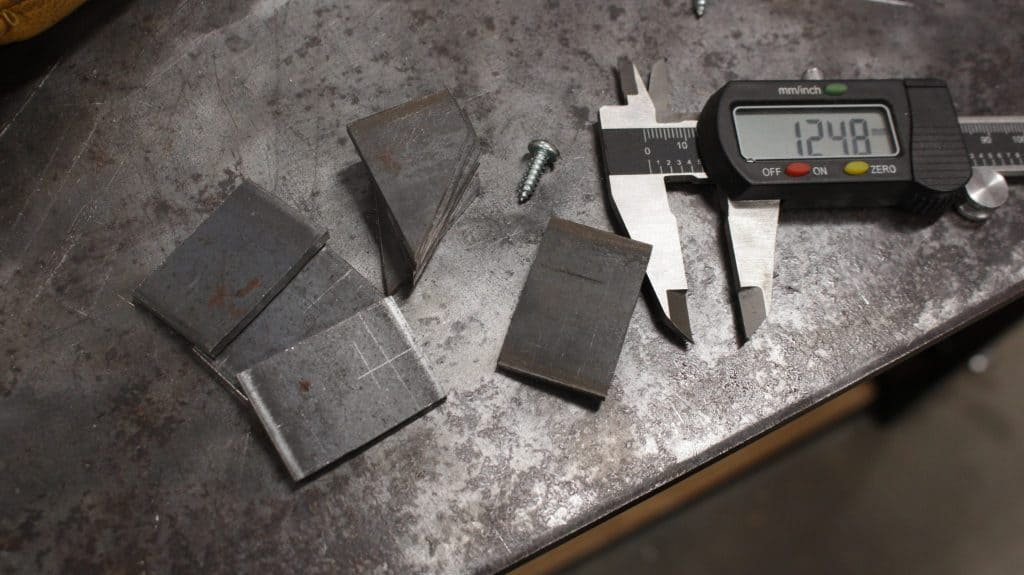
- Cut 4 top brackets from 1/8″ flat bar about 1″x1.5″
- Cut 5 front brackets from 1/8″ flat bar about 1″x1.5″ but with one end angled at about 45 degrees
- Drill 5mm holes in the brackets for screws
Step 2 – Weld Frame
- Use a welding table or jig to align pieces at right angles
- Ensure sides are co-planar
- Tack weld 45 degree mitered seams
- Use a welding table or jig to align vertical pieces at right angles
- Ensure sides are co-planar
- Tack weld notched seams
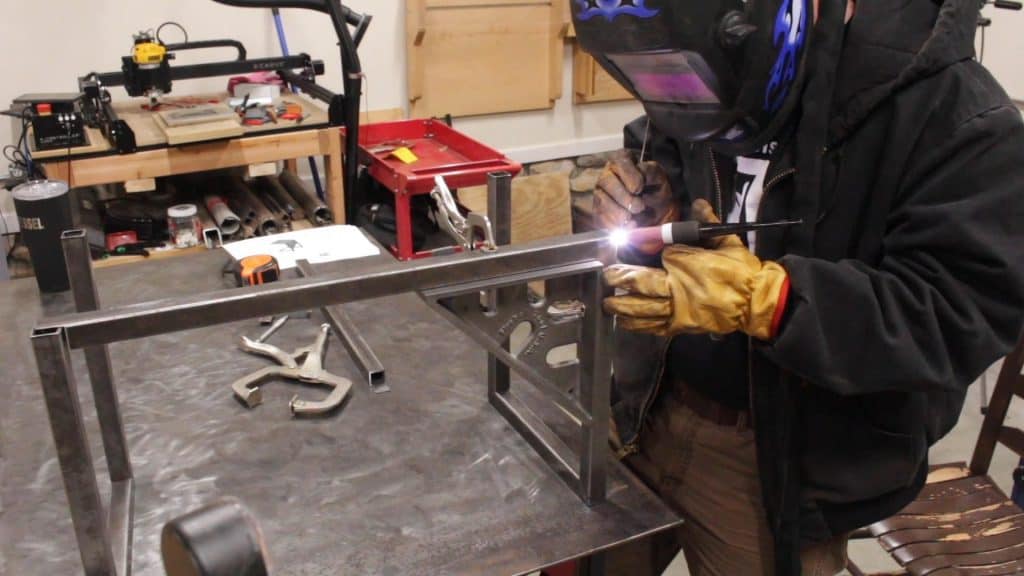
- Complete welding all seams with continuous bead
- Grind welds smooth (optional)
Step 3 – Weld Brackets to Frame
- Use a magnet or clamps to align brackets
- Ensure are recessed (based on your wood thickness) from front and top of frame and at right angles to the frame
- Tack weld brackets to frame
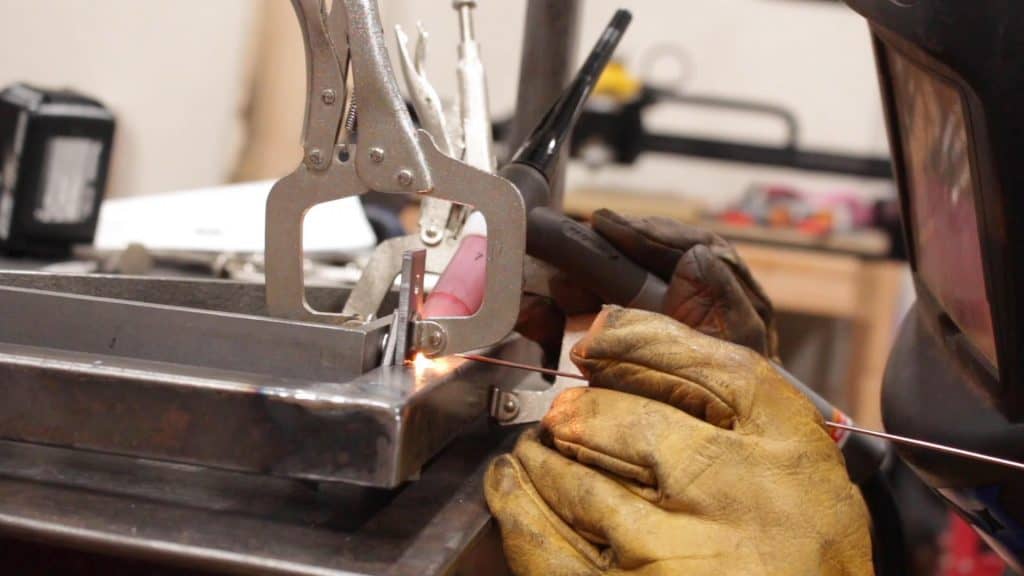
- Grind welds smooth so they do not interfere with the underside of the wood
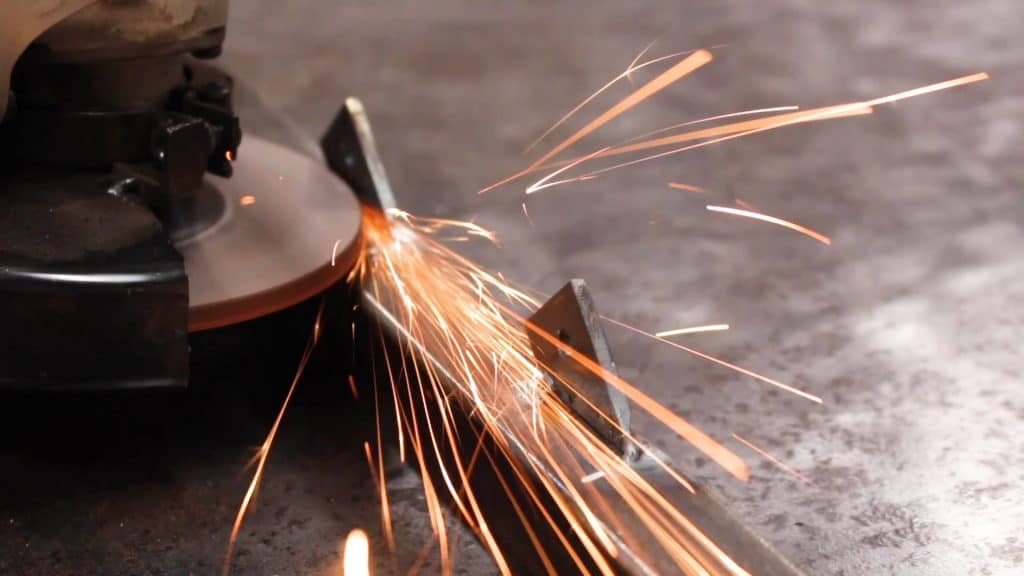
Step 4 – Wood Work
- Joint and plane wood if using rough cut lumber
- Cut wood to width so it will slide down into the fabricated with over length about 780mm long
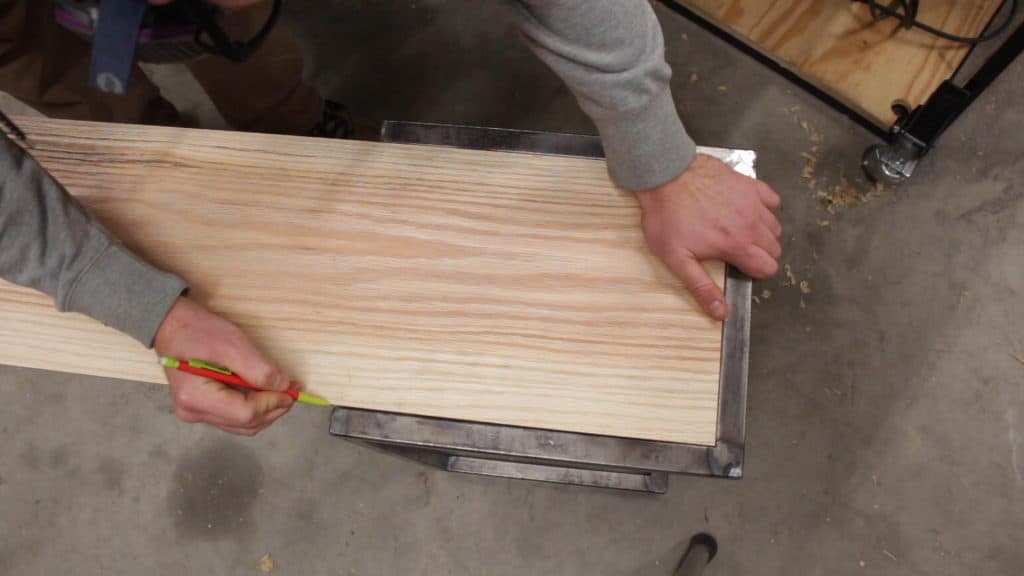
- Slip the wood into the frame and mark it at the front edge
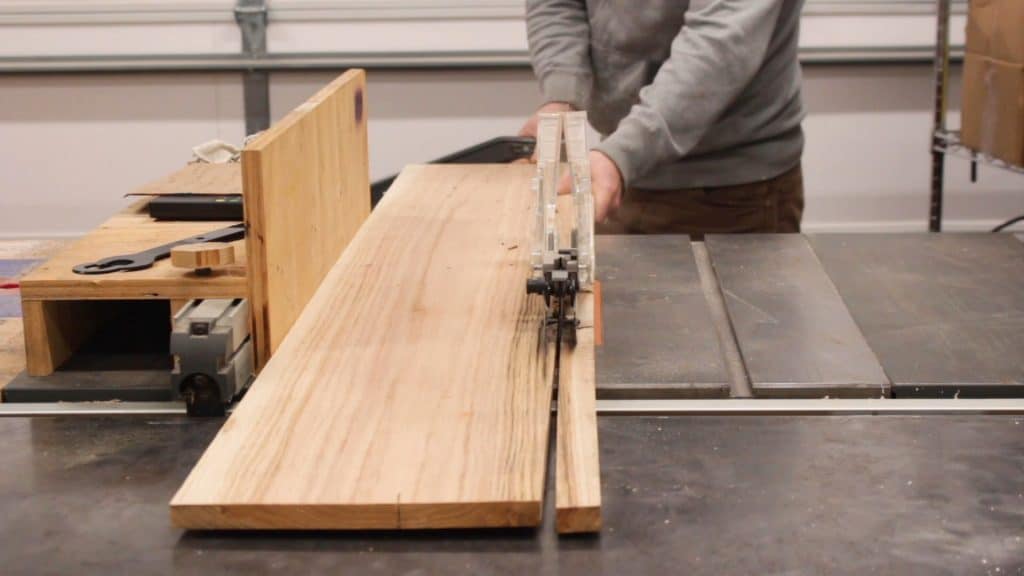
- Use a table saw sled to cut it at 45 degrees. You may be able to do this with a circular saw, but you are likely to have problems with alignment between the top and the front wood pieces.
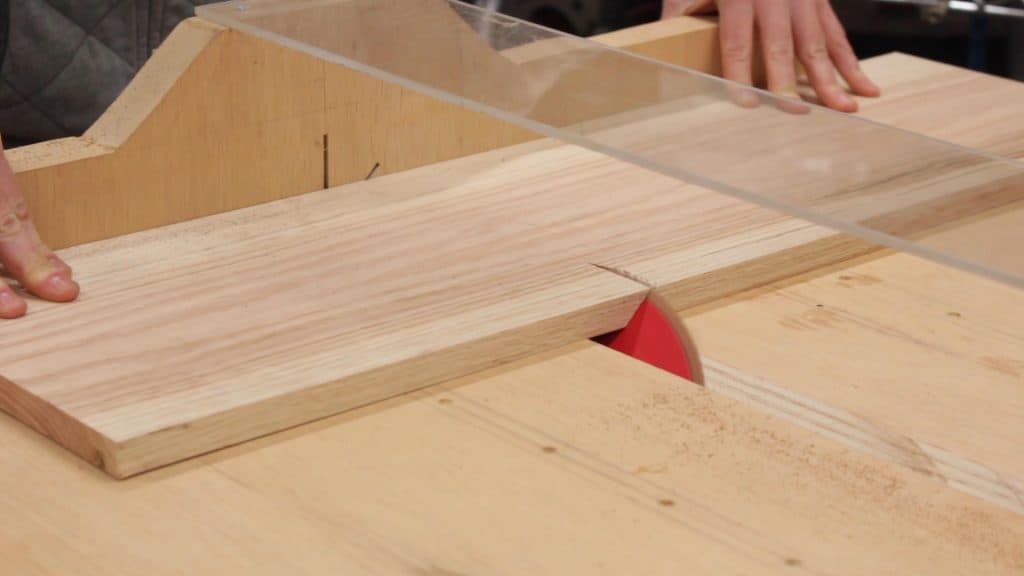
- Glue front stock to top using the welded frame as a jig for clamping
- Predrill holes for bracket screws being careful not to drill completely through the wood
- Mark location of the brackets on the back of the wood front stock to ensure cut slots do not interfere
- After glue dries, remove the wood assembly
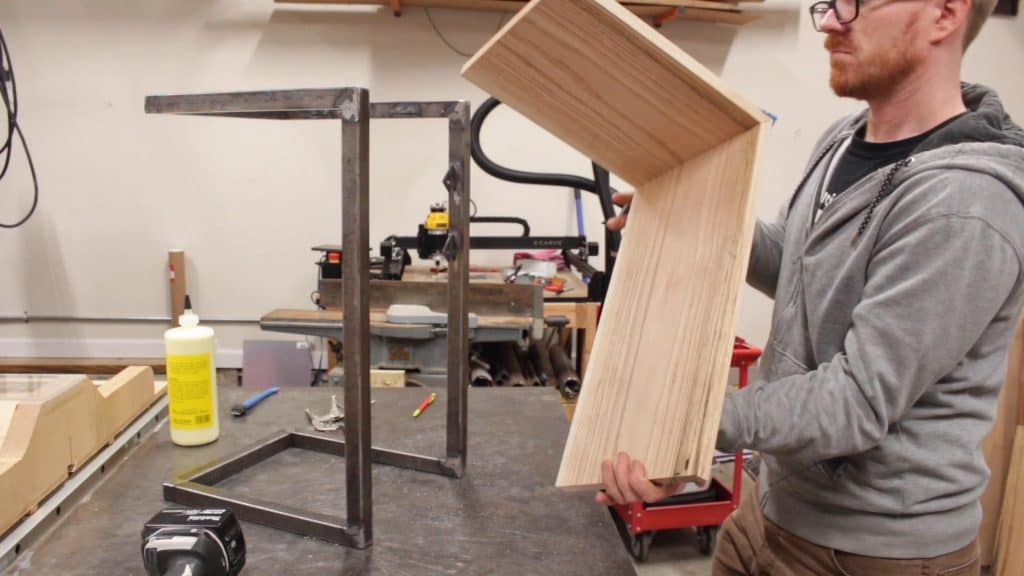
Step 5 – Finishing Up
- Mark cutlines on the back of the front stock as shown. This way the grain is consistent between front pieces
- Cut the front stock to form the three separate pieces, note the upper front piece will be glued to the top
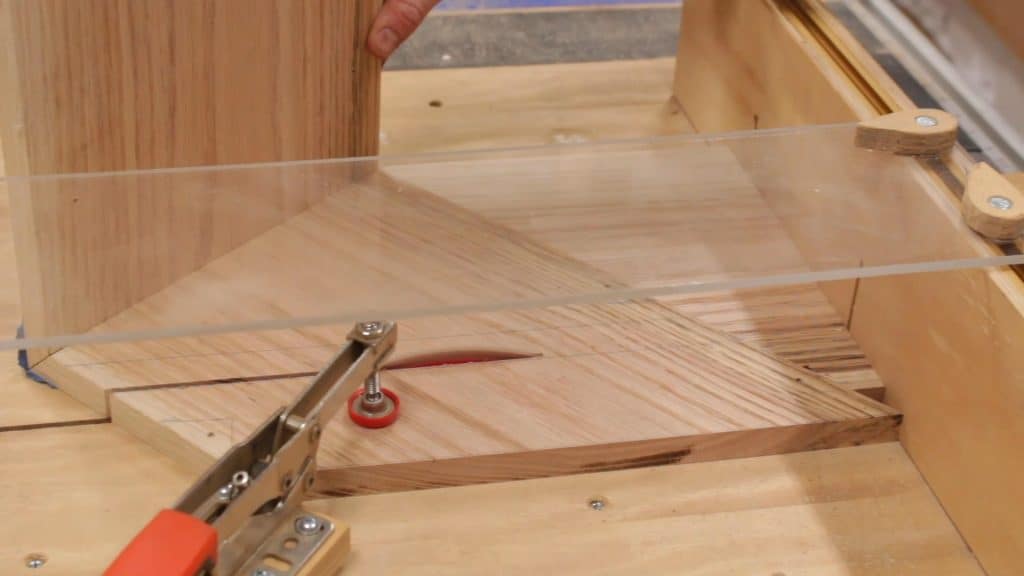
- TIP: When cutting slots use the offcut from the bottom between your sled and the work piece. Because it has a complementary angle to the slats, it will ensure consistency in cut angle, and it will provide stability during the cut.
- Finish as desired. Here is what I did:
- Sand along the grain with 150-220 grit sand paper
- Apply Varathan Red Oak stain liberally
- Remove excess stain after 15 minutes with a cloth
- Apply Varathane Water-based Polyurethane after stain dries
- Sand with 400 grit paper after water-based poly dries
- Apply a finish coat of poly
- Clean frame with acetone
- Prime the frame with primer
- Spray paint with gloss black rust inhibiting enamel
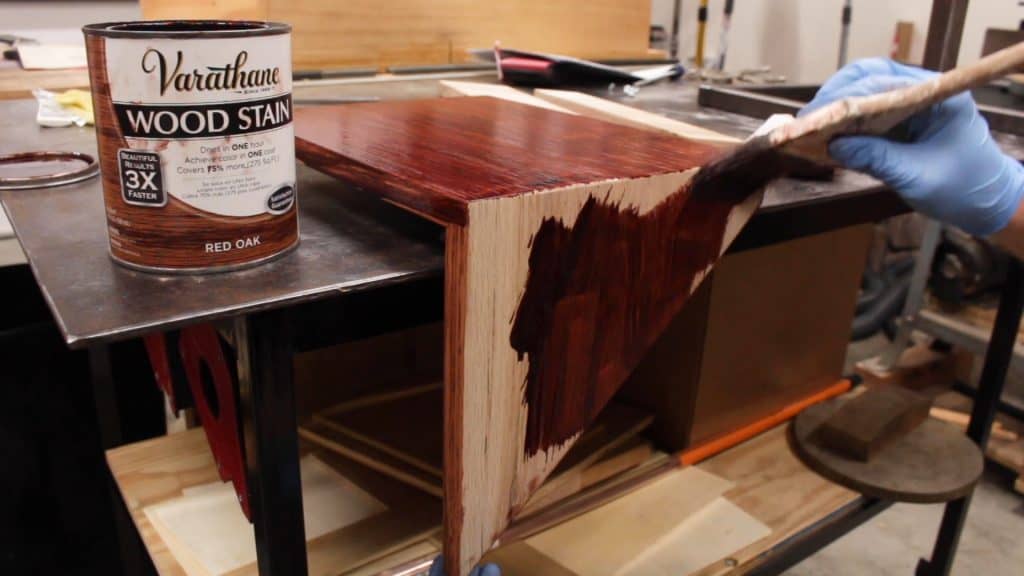
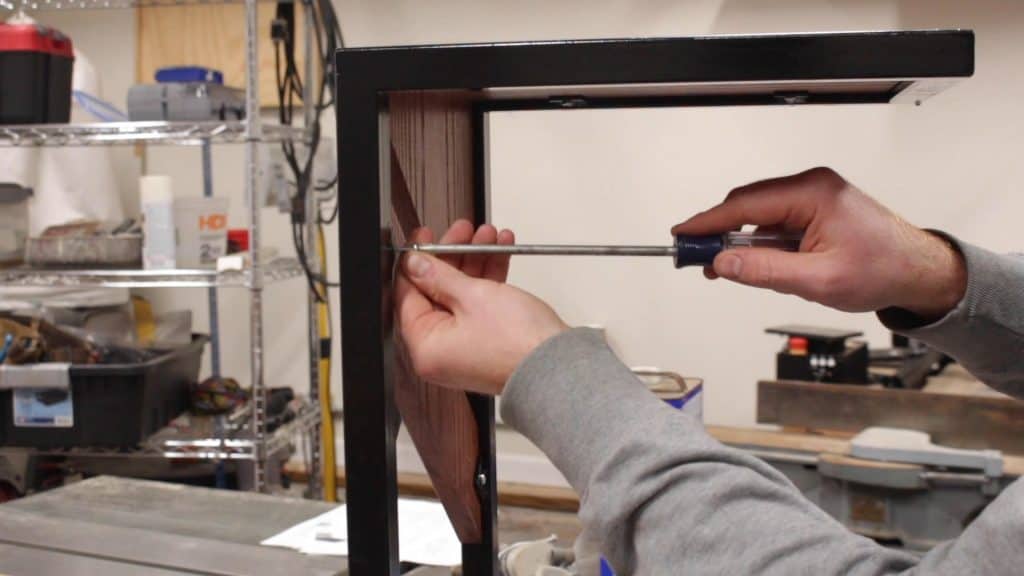
- Mount the wood pieces in the metal frame and secure with short screws
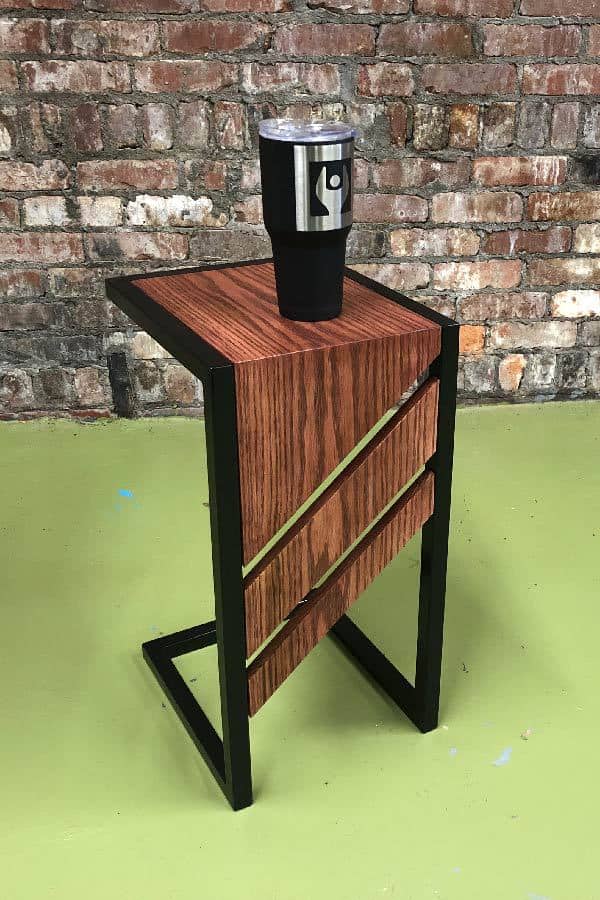
Enjoy
Put a tasty beverage on this handy C Table and enjoy the fruit of your labor. You deserve it!
Don’t forget the plans
Sign up below for FREE PLANS to build it to my dimensions. If you want to customize the table to fit in your own living room, grab the custom dimension C Table plans which include the Fusion 360 model and drawing. Then modify to your own dimensions.
